Project 2: Process
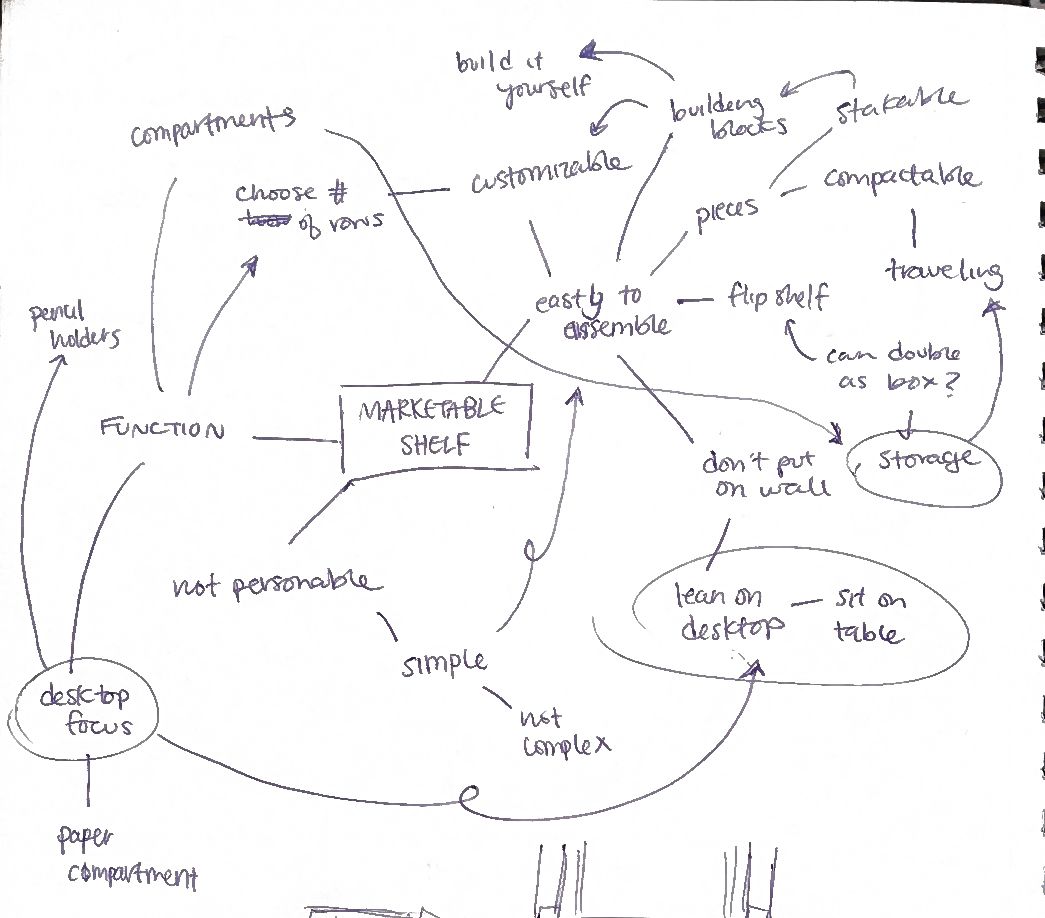
After my initial concept, I decided to change it a bit. I had thought about how if this item was to be used with the focus on the desktop purpose, would it get in the way if it was placed on the desk itself? I then thought about placing it on the wall to solve this issue and eventually had the idea of making a pegboard organizer and adapting my concept to it. The idea, while solving the issue, also held a lot of my initial concepts when it came to storage, displaying, and customization.
I also wanted the pegboard to mimic these organized shapes rather than just a straight edge square. I thought it would make the item consistent as well as visually interesting.
I also thought about if the user could rearrange these peg board pieces.
I also thought about if the user could rearrange these peg board pieces.
I first focused on making the board itself, so that I could gauge the sizes and such for the pegs to hold these items up as well as the size of the shelf parts to the holes. I also planned out the peg board itself.
I initially had it bigger than it is shown here, but it wouldn't be able to print on the Prusa XL at the size that I had it in in Rhino.
With the board, I also made sure to put a ledge to it so it would be able to hang on the wall, tackling my previous project's fallback when I did not consider how the shelf would hang on the wall.
With the shelf components, I made sure to give them holes to have them supported by the pegs. I also had the idea to make the pegs component itself, being able to be used to hang things on.
My experience with the Mini was a bit.. hectic. Stuff would not print properly, but I did learn how important a brim was.
For my pegs, I made sure to print them split apart and glue them together as I designed them to have a hook in them to be able to be inserted through the holes of the board and withstand the weight of items on the shelf components. I didn't want these hooks being disfigured possibly by the printer and not be able to go into the holes, so printing it this way. When doing a prototype, I found that the hooks worked really well. The only slight issue was the warping of the holes made the pegs stand at weird angles, but they wouldn't do it if they were supporting a shelf component.
Rhino Renders:
Object Itself:
.jpg)
.jpg)


.jpg)
.jpg)

.jpg)
Comments
Post a Comment