Project 2: Final
.jpg)
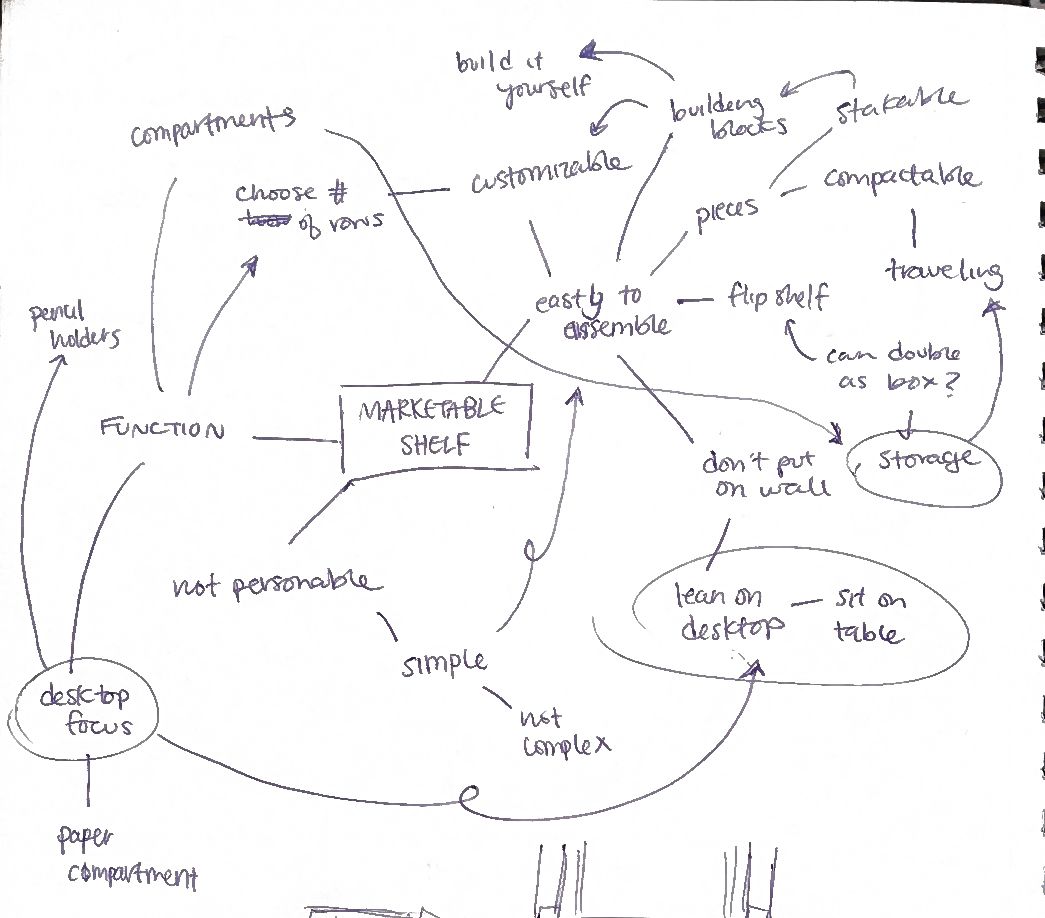
I had thought that last week was our last class, however, it wasn't! So, with this in mind, I tried to create the pencil holder... however... As I mentioned in my last post, my experience with the minis is a bit hectic. Whenever I tried making something with a lot of parts and was small, for some reason, when putting it through the Prusa Mini it would end up like this. I even tried putting a brim on the ones that would end up not printing out right but it would end up like this. This got in the way of my process a lot, unfortunately. I'm not sure what I did in my files that ended up making it out this way, and Peter even said there was a lot of risk when printing on the minis with a lot of parts. Since I mainly worked with the Prusa XL, especially in my previous Object Design class last semester, this was a bit of a hassle to work with as I felt like the XL would be able to do the things I wanted... That being said, I could have used the XL, but a lot of people would be usi...
.jpg)